Support the Work

If you have found the information on this blog useful, enjoyable, candid, or inspirational ... help keep it reader supported, journalistically driven, available to all, and advertiser-free. If you are able and inspired to do so, please consider a subscription to this blog. You can drop a dime or two every month, every year, or whenever you feel moved.

It will keep me writing, gathering facts, and interviewing the experts.

Love,

Elisabeth

CLICK HERE TO SUPPORT THE WORK

Parent / Sponsor


NEED TO FIND SOMETHING?
Join The Email List

Get Tastiness to Your Inbox

* indicates required

A blog about all things allergen-free and delicious

Thursday
Mar212013

Turn Me On, Muffin!

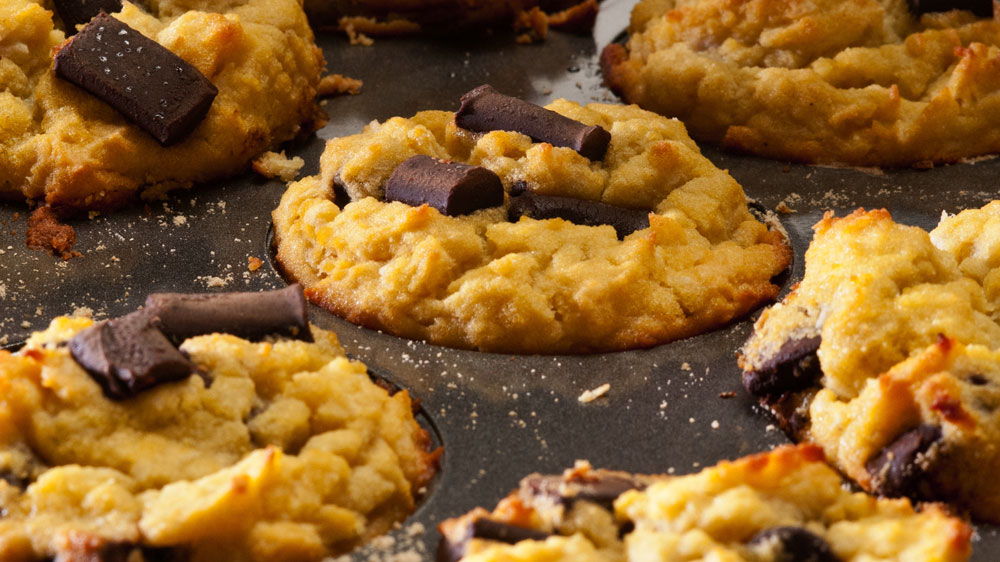
PHOTOGRAPH BY JEFF HAGE, GREEN FROG PHOTO

Once a most fashionable, on the go treat, the muffin has become the ugly stepsister to the flashier, sweeter, more complex cupcake. At one time, however, muffins were so sexy that they sold them without the bottoms. A “stud muffin” was popular slang for a hot guy, and more recently (and more intimately), a “muffin” was a cutesy way to talk dirty about our lady parts.

Now, the top of this cup-sized bread has become the rather undesirable bulge that hangs over our jeans. What has happened to the muffin?


A WEE CAKEY HISTORY


The muffin has been around for centuries with only a few key pivots in its culinary transformation, despite its colorful cultural As seen in Women's Lifestyle Magazine's March 2013 editionreferences. The English muffin dates back to the 10th century in Wales, and is a small, flat, yeast-raised bread that is cooked on a hot griddle. It began as a servants’ food of leftover bread, biscuit dough and mashed potatoes.  When the aristocracy tasted the English muffin, it became a popular teatime bite. In the 18th century, street vendors called “muffin men” put tins on their heads, or wooden trays around their necks, rang bells, and sold these nooks and crannies on the streets.

The American muffin appears closer to the 18th century, and is more of a quick bread made from a batter, rather than dough like the English version. American muffins were also a way to turn leftover bread, fruits, even meats into a tasty treat.

So, what is the difference between a muffin and a cupcake? Gluten-free Pastry Chef Kyra Bussanich says that cupcakes get their flash from the higher ratio of sugar to flour, and because of the creaming method of whipping the butter (or fat) until its light, and then adding in the sugar, and then the eggs, and then finally adding the flour. This method creates a tender cake crumb after baking.

On the other hand, muffin batter usually starts with the dry ingredients mixed in one bowl, and then the wet ingredients mixed together in a separate bowl before combining with the hands or spoon. This method creates a bread-like texture.


PALEO:  HEAR MUFFIN ROAR


Modern food allergies present new culinary challenges for the muffin, but I predict a muffin comeback. With over 20 million people developing gluten sensitivity and cross-reacting to different grains, people aren’t just going gluten-free, they are going GRAIN-free! This throwback to hunter-gatherer style eating is forcing yet another chapter in muffin history. The Paleo muffin. Now what could be sexier than a muffin in a loincloth?

One of the most popular flours to use in this Paleo diet is coconut flour. Here are a few tips on using coconut flour, and try this recipe for some yummy, grain-free muffins.


COCONUT CREAM MUFFINS

PREPARE

Preheat oven to 350 degrees F.
Line a muffin tin with 12 muffin cups or heavily grease with coconut oil

Yield:  12 muffins
Gluten-free, Dairy-free, Soy-Free
 

INGREDIENTS

1 c. coconut flour (do not pack)

3/4 c. unsweetened coconut flakes

1/2 tsp. sea salt
1/2 c. coconut oil (melted, but not hot)

6 eggs (whisked)

15 oz. can of Thai East Organic Coconut Milk (with the coconut fat in the can mixed in to make the cream)

1/2 c. honey

1 tsp. gluten-free vanilla

1 c. chocolate chunks from Enjoy Life Foods (or chips, or mini-chips, or whole, raw cranberries)


COMBINE

In a large bowl, whisk together the coconut flour, salt, and coconut flakes, getting out any lumps that might remain. It is a good practice to sift the flour before you measure it, so no lumps or packed flour can throw off the recipe. In another med/large bowl whisk the eggs, then add in the coconut oil, honey, coconut cream, and vanilla.  Slowly add in the coconut flour mixture to the egg mixture until well-combined.  It will be a thick batter.  Add in 1 cup of chocolate chunks or whole, raw cranberries.


BAKE

Place muffin cups into a muffin tin, or grease the tin well with coconut oil. This is a sticky, absorbent flour, so regular oil will get sucked into the batter and away from the tin. Spoon the batter into the prepared muffin tin so that each cup is evenly full.  Bake at 350 degrees F. for about 30 min., or until the tops of the muffins are slightly brown and just firm to the touch. Do not overbake.

Enjoy!


About Elisabeth


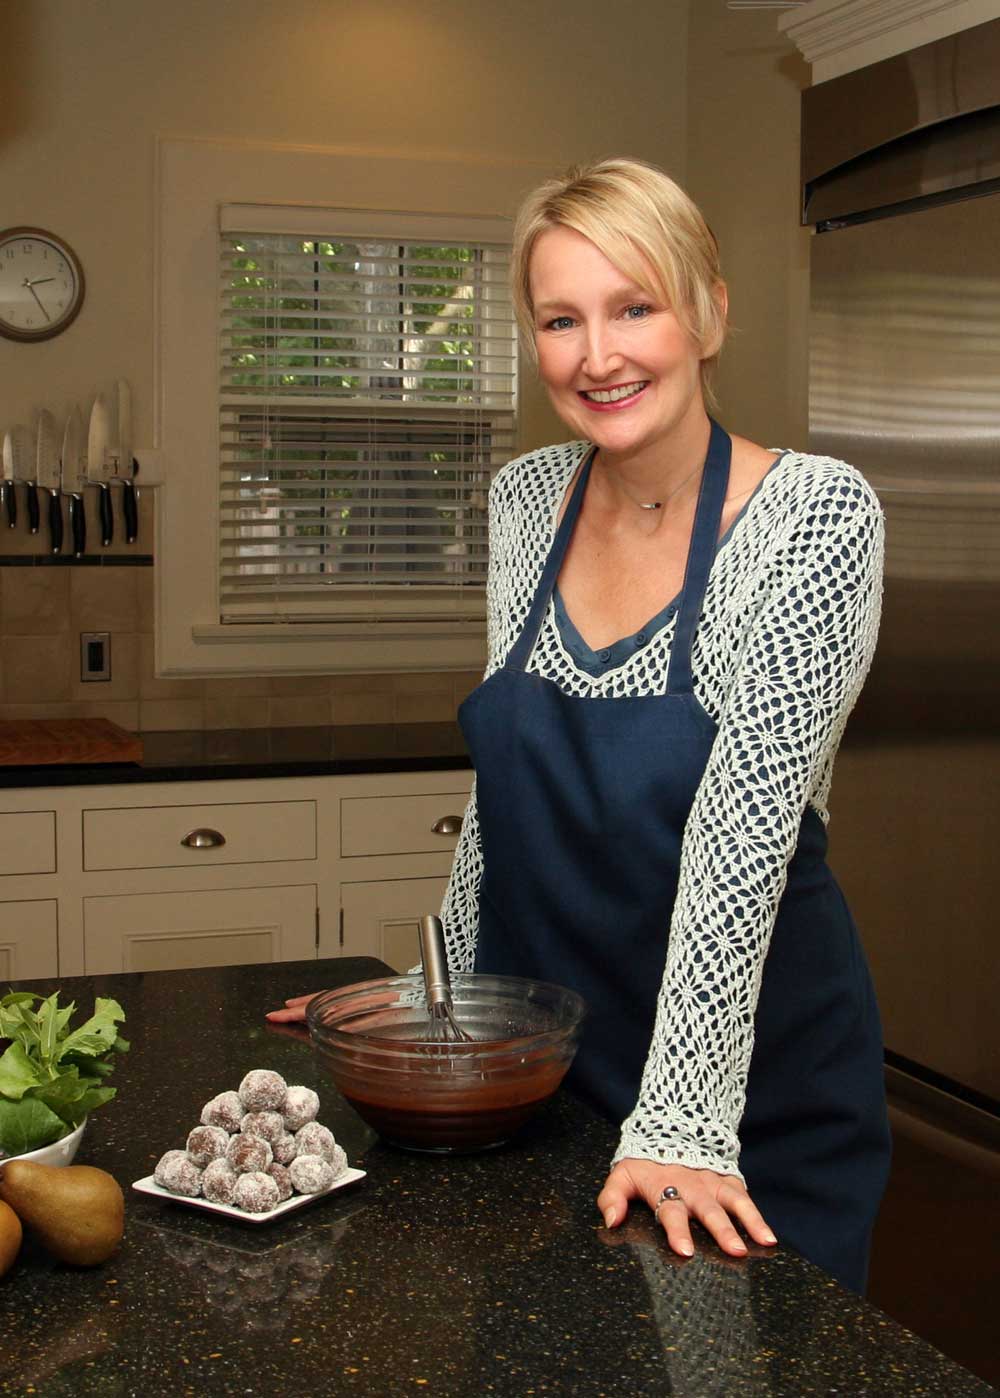
Owner of Blue Pearl Strategies, Elisabeth is also The Tender Foodie. She started this blog and The Tender Palate, to help those food allergies and sensitivities.


Thursday
Mar072013

Recipe: Roasted Radishes

Roasted Radishes sauteed with Fiddlehead Ferns

RECIPE COURTESY OF CHEF TINA MARIE GREEN of KISSING ROCK KITCHENS

Radishes bring back many childhood memories of my first garden. My dad was in charge of the corn, the beans and most of the garden, but I was, for some reason, in charge of the radishes.  Seeing this recipe by Chef Tina Marie Green brings me back to those days where I planted seeds and saw the miracle of the radish, and realized the power of nature.  It felt magical to plant a seed with my own two hands and watch this thing, this food, appear out of the dirt, and grow.

Radishes are also very good for you.  They support the stomach, urinary and digestive processes and the detoxification of the liver, and are so tasty when roasted.

Recipe

Preheat oven to 425 degrees

Ingredients

3 pounds Radishes, (Watermelon radishes, if available)
Extra Virgin Olive Oil – a Tablespoon or so
Sea salt

Method

Clean the radishes and cut them into quarters lengthwise. Place in a bowl and sprinkle lightly with the olive oil---just enough to each one a light covering. Place on their sides on a foil lined baking sheet and sprinkle lightly with the sea salt. Roast for approximately 20 minutes, depending upon size. When checking the radishes, look for a roasted side, a little soft but crispy on the inside. Taste to check!

Serve

Serve the roasted radishes warm and by themselves, or toss them with fiddlehead ferns!


Find Kissing Rock Kitchens

Kissing Rock Kitchens                             
www.kissingrockkitchens.com
616.987.9597

Wednesday
Mar062013

Recipe: Herbed Fiddlehead Ferns

RECIPE COURTESY OF CHEF TINA MARIE GREEN of KISSING ROCK KITCHENS

Fiddlehead ferns are the fronds of specific types of edible ferns. Usually, it is the ostrich ferns that grow in the northeast U.S. that find their way into fiddlehead dishes.  The flavor is a bit grassy, a little nutty, and even a little artichokey. They are a bit like asparagus, actually.  Look for them in spring (usually the first 3 weeks in May) at your farmers' markets and some grocery stores, like Whole Foods.  Not all ferns are edible (some are toxic) even though they look alike, so don't forage, unless you have a true expert with you.

This simple recipe from Kissing Rock Kitchens is a tasty way to experience these little fairy-like treats.  If you would like to learn more about them, here is a great post from VeganYumYum.com on fiddleheads.


Ingredients

1 lb. fiddlehead ferns

6 garlic cloves, peeled and finely minced

4 or more tablespoons of chopped fresh herbs (such as basil, parsley, thyme, lovage)

Combination of olive oil and coconut oil (if you are not allergic to dairy, you can use butter or ghee)


Combine

Wash the fiddleheads, removing any fuzz found in the “curl” of the fiddlehead (easily done by running a finger gently through the curl or simply rinsing with plenty of water). Pat dry. This will help the fiddleheads to saute more appropriately.

In a large skillet, heat your oil/ghee, until hot and add the fiddleheads and garlic cloves. Cook over medium heat, stirring occasionally, until the fiddleheads are soft with just a hint of crispness left to them. I simply keep taking one out and eating it to find out if they were done. I don’t like them overly crisp, as I feel they are not as flavorable but when they are well cooked and tender, they are delicious!


Serve

In the last minute or two, add the herbs, salt and pepper to taste, and then serve while hot.  You can toss these with roasted radishes to make a wonderful warm salad!


Find Kissing Rock Kitchens

Kissing Rock Kitchens                             
www.kissingrockkitchens.com
616.987.9597

Monday
Feb252013

Cabbage and Fermented Foods- Essential parts of the GAPS diet


BY GUEST BLOGGER, BROOKE KAUFMAN, CNC

Probiotic foods are a key part of the GAPS diet. They can be dairy-based (homemade yoghurt, whey, kefir or sour cream) or vegetable-based, like sauerkraut or other fermented vegetables. For those who can tolerate dairy, these homemade raw dairy products contain lactic acid and other substances that soothe and strengthen the gut lining.

For those who cannot tolerate dairy, fermented vegetable juices not only provide beneficial bacteria, but also help to restore stomach acid levels to normal. Cabbage is particularly good to use as a fermented vegetable.


Digestive Tract Support

Long-established in health research is the role of cabbage juice in helping heal stomach ulcers (called peptic ulcers), but more recent studies on cabbage have looked at the overall health benefits of this food for the stomach and digestive tract as a whole. Present-day studies make it clear that cabbage contains a variety of nutrients of potential benefit to our stomach and intestinal linings. These nutrients include glucosinolates (and the anti-inflammatory isothiocyanates or ITCs made from them) which regulate bacterial populations of Helicobacter pylori in the stomach. Cabbage juice also contains antioxidant polyphenols, and the amino acid-like substance called glutamine, which helps to soothe the inflamed tissues.


History

Cabbage has a long history of use both as a food and a medicine. It was developed from wild cabbage, a vegetable that was closer in appearance to collards and kale since it was composed of leaves that did not form a head. It is thought that wild cabbage was brought to Europe around 600 B.C. by groups of Celtic wanderers. It was grown in Ancient Greek and Roman civilizations that held it in high regard as a general panacea capable of treating a host of health conditions.

While it's unclear when and where the headed cabbage that we know today was developed, cultivation of cabbage spread across northern Europe into Germany, Poland and Russia, where it became a very popular vegetable in local food cultures. The Italians are credited with developing the Savoy cabbage. Russia, Poland, China and Japan are a few of the leading producers of cabbage today.

Sauerkraut, a dish made from fermented cabbage, has a colorful legacy. Dutch sailors consumed it during extended exploration voyages to prevent scurvy. Early German settlers introduced cabbage and the traditional sauerkraut recipes were introduced into the United States. As a result of this affiliation, German soldiers, and people of German descent were often referred to as "krauts."


Fermented Cabbage with Beets, Carrots and Ginger


INGREDIENTS

1/3 of a medium-sized red or green cabbage, cut into 2-inch wedges
3 large carrots, whole
2 medium red beets, cut into 2-inch pieces
2 to 3-inch piece of ginger, grated or minced
1/2 of a lemon, juiced
1 to 3 teaspoons sea salt, to taste
1/4 teaspoon red chili flakes
1 quart jar

INSTRUCTIONS

1. With the grating blade inserted into food processor, grate cabbage, carrots and beets. You can also grate these vegetables by hand or chop. Combine in a large bowl with ginger.

2. Sprinkle salt, chili flakes and lemon juice. Mix and massage well with your hands to release some of the liquid. The mixture should be quite wet and you should quickly see a good amount of liquid pool in the bottom of the bowl. Taste and add salt, if necessary.

3. Transfer a couple handfuls of the mixture into the jar and push down with your fist to remove all air pockets. Keep pressing handfuls of the mixture into the jar until it is about 3 inches from the top. Wipe the inside of the jar’s neck with a paper towel.

4. Take a smaller bottle that will fit into the mouth of the jar. Fill it with water and cap it. Press the smaller jar into larger jar.
When pressed down, the vegetables should be completely submerged under the liquid. Then, take a cloth towel and drape it over the jar and secure with a rubber band. The napkin does two things - keeps out fruit flies and other unwanted critters and keeps out unwanted light.

5. Set the jar in a saucer, small bowl or pan to catch any juices that may overflow. Keep in a dark place such as a cupboard at room temperature. The time it takes to ferment will depend on what room temperature is. It will slowly ferment in cool temperatures and quickly ferment in warm. Taste it after 2-3 days if  it’s between 60º-70º F, or up to a week if colder. Taste sooner if over 70ºF.

6. When you like the taste, transfer the jar to a refrigerator to slow down the fermenting. This will keep in the refrigerator for up to 2-3 months.

Makes about a quart.


NOTES:

Alternatively, you could ferment this with the lid on. First, wipe the inside of the neck with a clean paper towel. Take a leaf or two of the cabbage and roll it up. Cut the rolls to fit into the remaining space in jar. Loosely screw on a lid.

If you see a grey layer on top, scrape the top layer off. The rest is still good to eat. Always trust your nose and your eyes. If it smells off or looks slimy, toss it. Good ferments should have a fresh and acidic aroma.

Grating the veggies breaks down the cell walls a bit more than simply chopping, so they will release liquid more quickly. You won’t need to massage the vegetables very much. The smaller size allows you to pack a bit more vegetable tightly into the jar and also gives the ferment a more delicate chew.


To learn more about sauerkraut: http://www.nourishingtreasures.com/index.php/2012/05/15/the-science-behind-sauerkraut-fermentation/


About the Author


Brooke Kaufman is a Certified Holistic Nutrition Consultant who creates customized meal plans for her clients with multiple food allergies and intolerances, and for those who are on the GAPS diet. She enjoys helping people eat nourishing food that is easy to prepare and tastes delicious. She believes that having food allergies and intolerances can be a positive challenge that inspires creativity, and brings a higher level of awareness when it comes to what you put in your body. Brooke believes that when we deeply nourish ourselves inside and out, we can attain optimal health…which includes healing our damaged and inflamed digestive systems.

Brooke received her nutrition education at Bauman College, and has learned through her own personal experience with food intolerances, she also works as a cleanse coach for Cleanse Organic, a 28-day, guided whole food based cleansing program.

Find her at:  Balance Within Nutrition

Thursday
Feb212013

My MunchBug at The Chew? Tune in!

Melanie Potock, MA, CCC-SLP

Well, look who's on the carpet at ABC's The Chew?  Tender Palate guest blogger and kid feeding expert Melanie Potock of My Munch Bug

Tune in tomorrow, Friday, February 22, 2013 at 1PM E, and 12pm P & C.

Melanie gets to try an Oscar party dish prepared by Daphne Oz and Michael Simon (a secret crush of mine) and Mel’s daughter Carly gets expert fashion and style tips from celebrity fashion hair & make up experts Carmindy and Ted.


Page 1 ... 8 9 10 11 12 ... 41 Next 5 Entries »